Spiacenti, questo articolo di supporto non è al momento tradotto in italiano. Se lo desideri, puoi provare una traduzione basata su Google.
Questo articolo di aiuto è per una versione precedente di Direct Mail.
If your organization or business has a Facebook Page, you can add a subscribe form to it in just a few easy steps. You will need to make sure that you have the Admin or Editor role for the Facebook Page. Personal profile pages are not supported.
There are two ways to link your subscribe form to your Facebook Page:
- using a call-to-action button, or
- using a custom page tab.
Call-to-Action Button
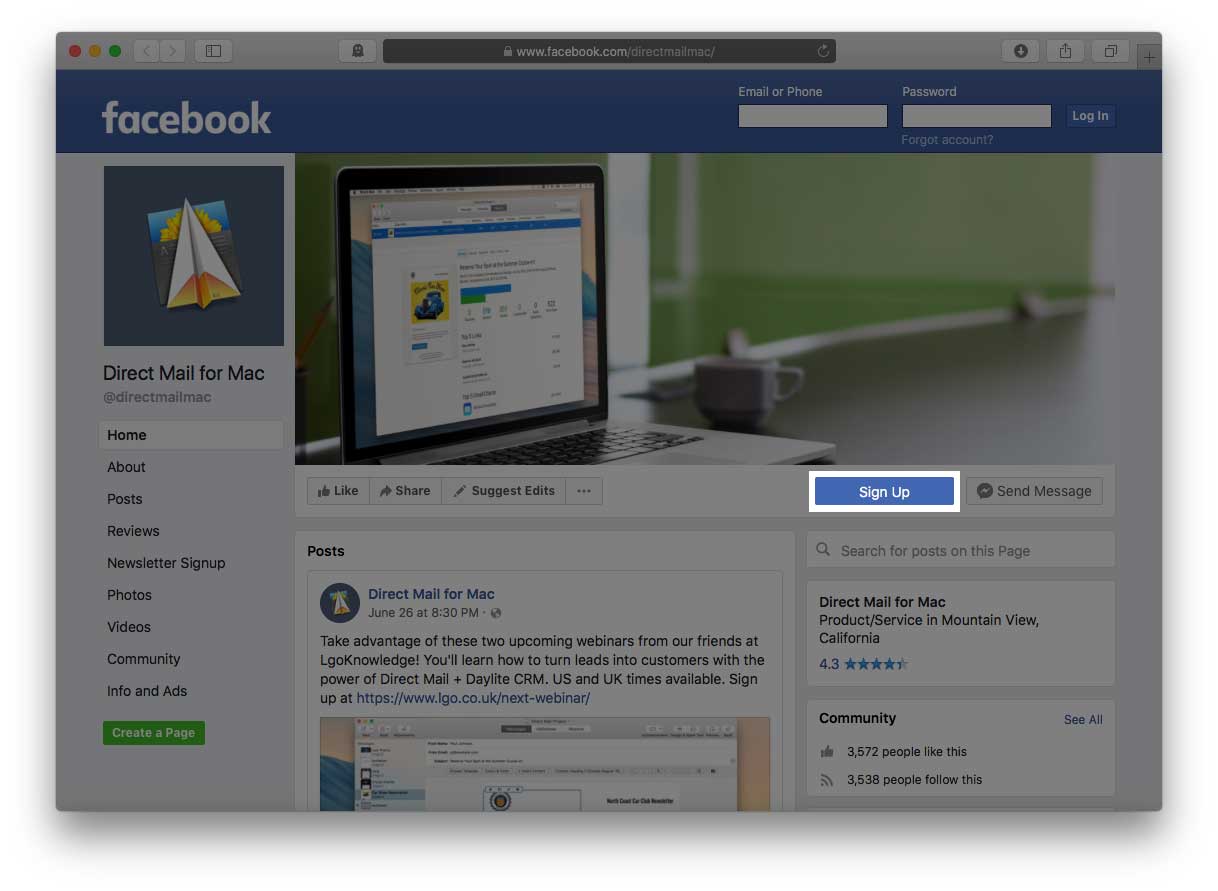
Your Facebook Page can include a bright blue call-to-action button that appears just underneath your cover photo:

You can link this button to your subscribe form:
- Go to your Facebook Page
- Click "+ Add a Button" below your Page's cover photo
- Select a button from the menu that appears (e.g. the "Sign Up" button) and follow the on-screen instructions. The "website link" that you'll paste into Facebook should be the URL of your subscribe form.
- Click Finish
Custom Page Tab
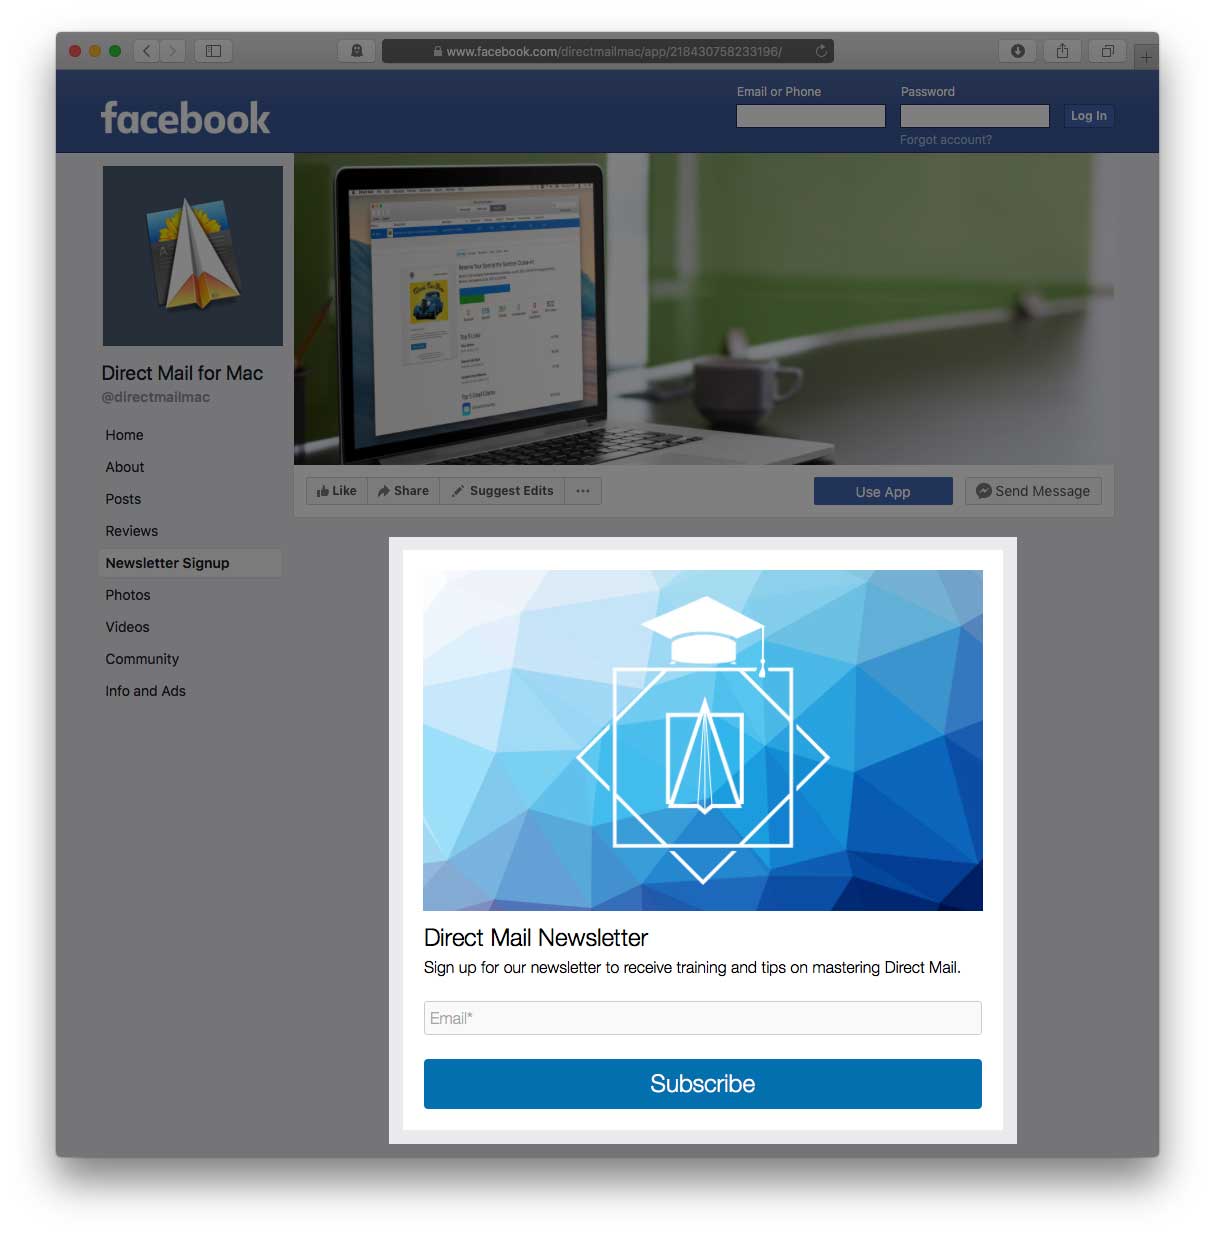
You can add a custom page tab to your Facebook Page that lets visitors sign up for your mailing list right from inside your Page itself.
Note: As of April 2018, Facebook now requires that your Page have at least 2,000 followers before a custom tab can be added to it. If your Page does not meet that requirement, we suggest using the call-to-action button method described above.

- Choose Window > Integrations from the menu bar at the top of the screen
- Select the Facebook Pages integration from the list on the left
- Use the "Add Form to Facebook Page" drop-down menu to select your subscribe form
- Follow the on-screen instructions in your browser
If you use a custom "unconfirmed subscribers" URL
If you have configured your subscribe form (in the Options tab) to redirect unconfirmed subscribers to a custom URL, please make sure that the URL you are using begins with "https:". Some web browsers will not allow a subscribe form served via HTTPS to redirect to a non-HTTPS page.